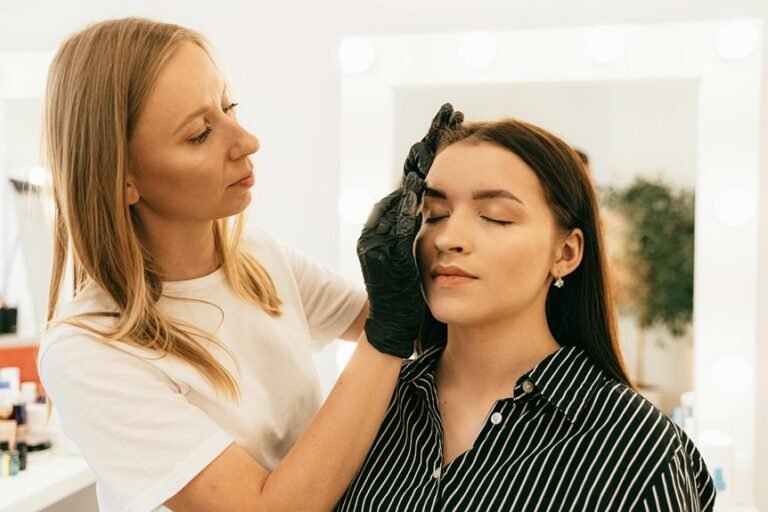
A smoother base starts before the initial drop of product touches skin. Clean prep, the right formula, and thin foundation layers can change the entire finish, especially whenever concealer enters at the right moment. The order matters, as does the blend. Small mistakes can turn seamless coverage into heaviness or patches. The next steps show how to build coverage that stays even, natural, and controlled.
How Do You Prep Skin for Concealer and Foundation?
Prep begins with a clean, balanced face: cleanse to remove impurities and help create a smoother surface, then tone to refresh the skin and reduce excess shine.
This skin cleansing step supports an even base and helps makeup sit closer to the complexion, which matters for a polished finish. After cleansing, moisturizer should be allowed to absorb fully so products do not slide or separate.
Primer application follows, creating a refined canvas that helps foundation and concealer adhere more evenly and resist clinging to dry patches. A light touch around the brows and T-zone can improve placement and comfort.
Upon skin is prepared with care, the result feels cohesive, confident, and ready for seamless coverage.
Choose the Right Foundation Formula
The right foundation formula sets the tone for everything that follows, because it determines how smoothly concealer will sit on top and how much correction will actually be needed.
A careful match to skin type helps the base look like it belongs, not like it is sitting apart from the complexion. Matte options suit oilier areas and offer a controlled formula finish, while radiant or satin formulas can soften dryness and keep the face from looking flat.
Those with textured skin often benefit from lighter reflective formulas, which blur without emphasizing pores or lines. The most reliable choice is one that evens tone, feels comfortable, and leaves enough flexibility for concealer to correct only where needed, preserving a polished, seamless result.
Apply Foundation in Thin Layers
Foundation should be applied in thin layers, allowing each pass to settle before additional product is added.
Coverage can then be built gradually, which preserves a natural finish and reduces the risk of heaviness. Before reapplying, the existing layer should be blended evenly to maintain smooth placement and avoid patchiness.
Build Coverage Gradually
Applied in thin, controlled layers, foundation creates a more even base without overwhelming the skin. This method helps the complexion look polished while preserving a natural, layered texture that feels familiar and refined.
A small amount is placed initially, then added only where more coverage is needed, allowing gradual opacity to develop without heaviness. Each pass should remain light, so the skin can hold its fresh finish and avoid a masked effect.
On textured areas, restraint is especially useful, since excess product can settle and separate. With patience, the result is smoother, more cohesive, and easier to wear among any setting. Build coverage gradually to support comfort, confidence, and a finish that belongs with the rest of the look.
Blend Before Reapplying
Before adding more product, each thin layer should be blended fully so the base remains even and controlled.
This touch up technique preserves the original placement of foundation and concealer, allowing each pass to settle without streaks or heaviness.
With a damp sponge, flat brush, or clean fingertips, the edge of the initial layer is pressed outward until it disappears into the skin.
Only then should product reapplication timing be considered, since premature layering can accentuate texture and disrupt coverage.
Small amounts are then added only where correction is needed, helping the complexion appear polished and included in the same seamless finish.
Via blending before reapplying, the wearer maintains balance, avoids buildup, and achieves smoother layers that look intentional, refined, and comfortably natural.
Where Should You Apply Concealer?
Concealer should be placed where brightness or correction is needed most, especially under the eyes to lift and refresh the face.
It is also applied directly to blemishes, dark spots, and other small imperfections for precise spot coverage.
Areas with redness or uneven discoloration benefit from careful, targeted application before blending.
Under-Eye Brightening
To brighten the under-eye area, concealer should be placed directly where darkness is most visible, then blended gently outward for a seamless finish.
This approach supports eye brightening without disturbing surrounding makeup, helping the face look rested and polished.
A shade one to two tones lighter than the foundation can refine highlight placement, adding lift while preserving a natural look.
The product should follow the curve of the eye, staying close to the shadowed zone rather than spreading too far.
Light tapping with a brush, sponge, or fingertips keeps the layer thin and connected to the skin.
Minimal product, careful placement, and soft edges create a refined result that feels cohesive, flattering, and easy to wear in any setting.
Spot Coverage Areas
Concealer is most effective where placed only on the areas that need correction, such as blemishes, redness, pigmentation, and under-eye darkness.
Applied after foundation, a spot concealer should be dotted directly onto each target for precise coverage. This selective method helps the complexion look unified while keeping the skin’s natural texture visible.
Small imperfections benefit from a shade that matches the skin closely, allowing the product to disappear into the base. A minimal amount is enough; excess can draw attention instead of blending in.
Those seeking a polished, cohesive finish can place concealer sparingly, then tap it in with a brush, sponge, or fingertip. Through keeping placement intentional, the face appears refined, balanced, and comfortably part of a well-finished routine.
Redness And Discoloration
A shade matching the complexion usually preserves balance, while a peach or green corrector can be used once contrast is stronger. Minimal blending keeps coverage anchored and helps the complexion look refined yet natural. Through placing product only where needed, the finish remains coherent, confident, and quietly polished for every setting.
Blend Concealer Without Lifting Foundation
A gentle tapping motion keeps concealer in place while preserving the foundation beneath it.
Gentle pressing, rather than sweeping, helps the product meld with the base while keeping minimal disturbance to earlier layers. A soft brush, damp sponge, or fingertips can be used with light, deliberate pressure, allowing the concealer to settle where it was placed. Each tap should remain controlled, never dragged across the skin, so the foundation stays smooth and intact.
Short, patient stipples create a seamless edge and help the complexion look unified and refined. As the motion stays quiet and exact, the finish feels polished, and the wearer can belong in a space of effortless, confident makeup.
Once blended, the surface appears natural, even, and undisturbed.
Add Coverage Only Where You Need It
Once the concealer is blended smoothly, attention shifts to placement that stays selective and controlled. A targeted coverage strategy helps the complexion look refined without masking its natural character.
Minimal product placement should focus only on areas that genuinely need correction, such as redness, blemishes, or shadow under the eyes. This approach supports a polished finish that still feels familiar and comfortable.
- Dot concealer sparingly on concern areas.
- Keep the rest of the face free of excess product.
- Build only where extra refinement is required.
Set Concealer and Foundation for a Smooth Finish
To finish the complexion, concealer and foundation are set with a light dusting of powder, pressed gently into place so the coverage stays smooth and intact.
This setting powder application should target areas that tend to move earliest, such as the forehead, nose, and chin, while leaving the rest of the face soft and natural.
A fluffy brush or clean sponge can be used to press, not sweep, so the base remains undisturbed and the finish feels unified.
After powder, a finishing spray seal helps melt the layers together and adds a polished, freshly applied effect.
Used in this order, the complexion looks refined, comfortable, and ready to belong in any setting, from daytime errands to evening plans.
Fix Cakey Concealer and Patchy Foundation
As the base begins to look heavy, uneven, or dry, the corrective approach is to restore thinness and cohesion rather than add more product. A clean sponge or fingertips can press out excess, especially around under-eyes and textured areas. For quick patch repair, the surface should be softened with a light mist or a touch of moisturizer, then blended in short tapping motions.
- Remove buildup with a damp sponge.
- Reapply only a pin-point amount where coverage is missing.
- Set lightly to keep the fix in place.
Cakey touch ups work best whenever layers remain sparse and targeted. Foundation that has separated can be smoothed through stippling from the center outward, helping the complexion stay polished, united, and confidently presentable.
Frequently Asked Questions
Should You Apply Powder Before or After Liquid Concealer?
Powder comes after liquid concealer like mist settling over canvas. In this product order, concealer layering stays smooth and adherent initially. Then powder sets it, preserving coverage, preventing creasing, and inviting a polished, seamless finish.
Can You Use Fingers Instead of a Sponge for Concealer?
Yes, fingers can replace a sponge for concealer. A gentle finger application technique warms the product for easier coverage and blending, especially under the eyes or around blemishes. Light tapping preserves foundation and creates a natural, seamless finish.
How Do You Choose Between Warm and Cool Concealer Undertones?
Like a key finding its lock, warm undertones suit golden and peachy skin; cool undertones suit pink and rosy skin. Undertone matching begins with skin tone evaluation on the jaw in natural light, choosing the blend that disappears gracefully.
What Tools Work Best for Covering Acne Scars?
Synthetic fluffy brushes, flat synthetic brushes, and damp makeup sponges work best for scar coverage. They control concealer texture, press product into pits without rubbing, and build thin seamless layers that help skin appear smoother and accepted.
How Often Should Makeup Brushes Be Cleaned?
Makeup brushes should be cleaned weekly, with cleaning frequency increased for liquid products or acne prone skin. Good brush hygiene helps prevent buildup, supports smoother application, and keeps shared beauty routines feeling safe, polished, and inclusive.